
How to Clean Car Air Conditioning Vents |In 5 Easy Steps
With the passage of time, dust can build up inside your car’s air conditioning vents. This not only looks unsightly but can also lead to foul odors and unhealthy air circulation inside your vehicle. Luckily, cleaning your car’s A/C vents is an easy process.
In this article, we will outline the supplies you’ll need as well as 5 straightforward steps to get your vents looking and smelling fresh. Don’t get confused about how to clean car air conditioning vents. Properly maintaining your car’s ventilation system will create cleaner air and a more pleasant riding environment. Read on to learn how!
What You’ll Need:

- Small paint brush or foam brush
- Homemade or store-bought all-purpose cleaner
- Microfiber cloths
- Toothpicks or cotton swabs
- Small flashlight
- Phillips head screwdriver
- Gloves
- Protective eyewear
- Replacement cabin air filter (optional)
5 Easy Steps to Clean Car AC Vents
Step 1: Remove the Vents

The first step is to carefully pry off the vent covers inside your car’s cabin so you can access the inner vent housing. You may need to use a small screwdriver to find and undo any screws holding them in place.
Work slowly and take care not to crack the plastic housing of your vents, as replacements can be expensive. Once removed, you’ll be able to see all the built-up gunk inside. Set your vent grates aside in a safe area while you work.
Step 2: Loosen Debris with a Brush
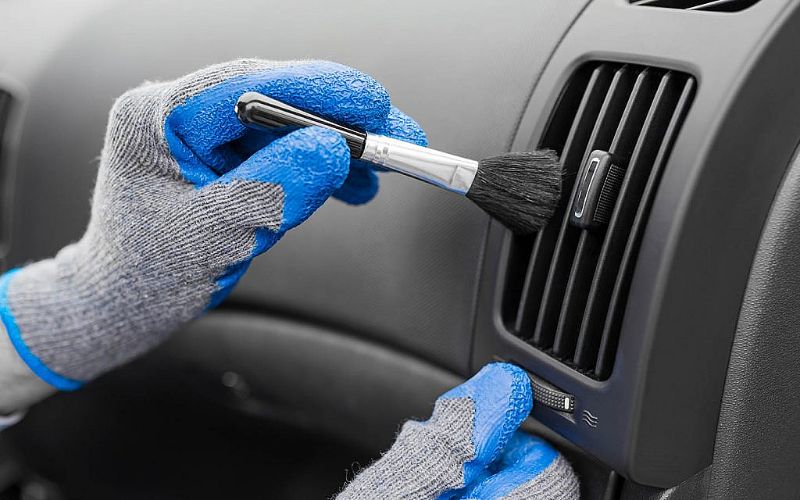
Use your paintbrush, foam brush, or toothbrush to gently dislodge any debris or dirt that has gathered in the Car Air Conditioning passages inside your vents. Hold your small flashlight up to the openings to spot hard-to-reach spots. Sweep away until the passages look clean.
You can also use some pointy items to pick out more stubborn deposits. Take care not to push any dirt further back into the system while doing this.
Step 3: Clean Vents and Grates
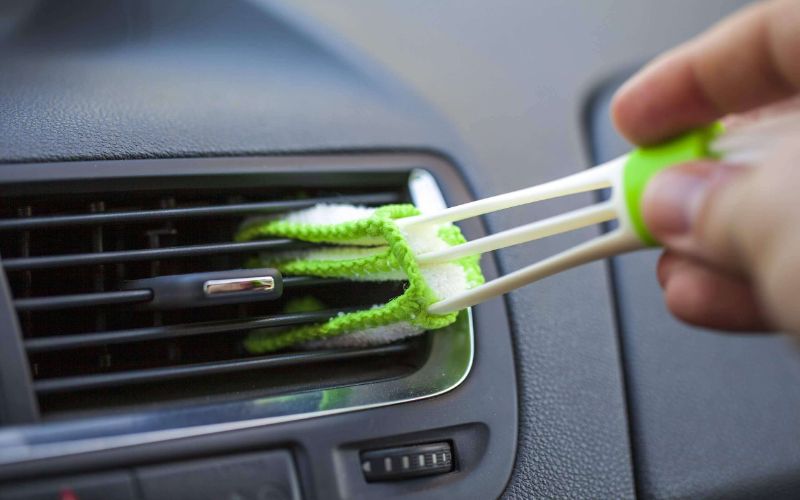
Mix up a 50/50 solution of warm water and your preferred all-purpose cleaner in a spray bottle. You can make a DIY cleaner using two tablespoons of dish soap or Castile soap with two cups of warm water too. Spray your vent housing openings first, allowing them to soak for 2-3 minutes.
Next, liberally spray down the removed plastic vent grates as well until they are fully saturated. Let them soak in the cleaning solution for a few minutes. Use clean microfiber towels to gently wipe away all dirt and grime buildup from the inside of the vents first.
Then wipe down the external vent grates until they look clean and fresh. You may need to use a small brush again on stubborn debris or for hard-to-reach crevices. Rinse with clean water as needed if using soap.
Step 4: Dry and Reinstall the Vents

Ensure you have removed all moisture by wiping both housings and grates with dry microfiber cloths. No liquid must remain before reattaching them. Just make sure they are 100% dry before returning them to your car. This prevents mold or mildew growth later on. Once dry, carefully snap your vent grates back into place inside each opened air passage. Replace any screws if needed. Ensure the vents are securely reinstalled before moving on.
Step 5: Replace Cabin Air Filter (Optional)
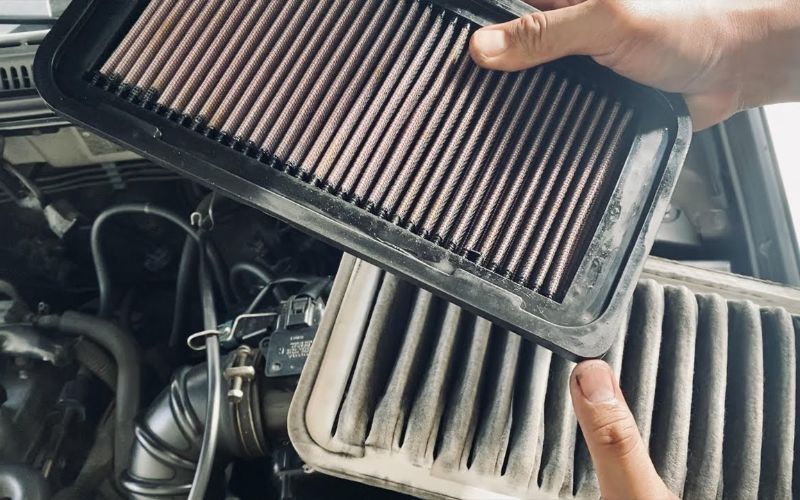
While you have the ventilation system opened up, it’s a great time to swap out old cabin air filters for a new one. Air filters help remove allergens and pollutants as you drive, preventing them from recirculating through your AC system.
Consult your owner’s manual on cabin filter placement. It’s typically located behind the glove compartment. An automotive technician at your local auto parts store may also be able to assist if you get stuck. Installation only takes a few minutes. Replacing this filter ensures cleaner and healthier air is flowing every time you turn on the AC. It’s recommended you change filters out once yearly.
Conclusion
Just gather a few household items, roll up your sleeves, and set aside about 30 minutes for this easy DIY car vent cleaning project. Not only will cleaned air passages improve airflow, but your car’s cabin will smell cleaner too. Pair vent cleaning with a new cabin air filter for optimally purified interior air all year long.
After knowing how to clean car air conditioning vents, you might be thinkin how to keep the car AC vents in good condition. Consistency is key for preventing buildup from returning quickly. Aim to clean your vents out approximately once per year, more if you spend an excessive amount of time commuting on dusty roads or live in a highly polluted area.
By properly maintaining your car’s air conditioning vents and filters, you’ll be rewarded with better in-cabin air quality and climate comfort while driving. Both you and any passengers will be able to breathe easier during every ride.